Including a Marquee
The Marquee is a banner that appears at the bottom of your home screen. You have a variety of options for what you can display here, including the following:
Countdown: The Countdown option will count down prior to the start of your event until a specified date/time that you set as the start of your event. Once that date and time have been reached, the Marquee will change to what you have set in the "During" section of your Marquee setup.
Countdown on the slide-out navigation menu of an app with a Discover screen:


Now and Next: The Now and Next setting will display after your Pre-Event Marquee has ended and displays events happening at your event now or next. These are displayed based on dates and times set in your Events within the CMS. Starting events display within an hour of the start time and ending events display up until the end time set for the event in the CMS.
- The event’s starting time is within the next hour.
- The event’s ending time is within the next hour.
- The event’s starting time was before the next hour AND the event’s ending time will be after the next hour is up. i.e. you have a long event that is in a “now” state.
- A Stage must be applied to the event. Events without stages will not appear.
Now and Next on the slide-out navigation menu of an app with a Discover screen:

Now and Next on a Standard menu:

Text: The Text option can be set to display at any point during your app lifecycle including pre-event, during the event, and after your event. This field offers complete flexibility and allows you to include a buy tickets link, your official festival hashtag, or any Post Event Text in your marquee. The text allows approximately 20 characters including spaces and punctuation.
Text of "See you next year!" on the slide-out navigation menu of an app with a Discover screen:

Text of "See you next year!" on a Standard menu:

Text of "#wfpsrun" on the slide-out navigation menu of an app with a Discover screen:

Text of "Buy Tickets" with a deeplink URL added to make the Marquee actionable on a Standard menu:

To set up your Marquee follow the steps outlined below, or check out this video.
1. Navigate to https://cms.aloompa.com/
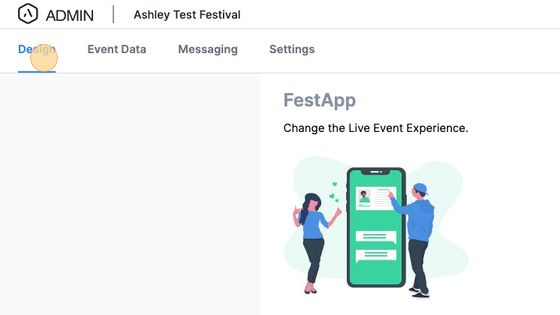
2. Click "Design"
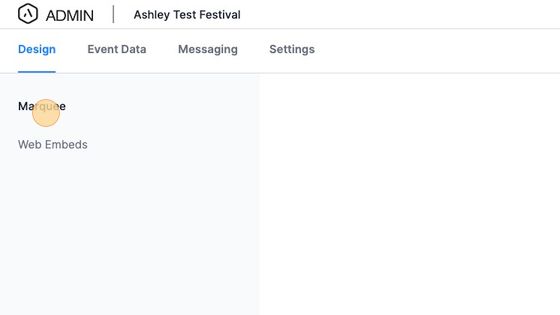
3. Click "Marquee"
4. Modify the colors of your text, background color, etc. as needed.

5. Modify the font types as needed.
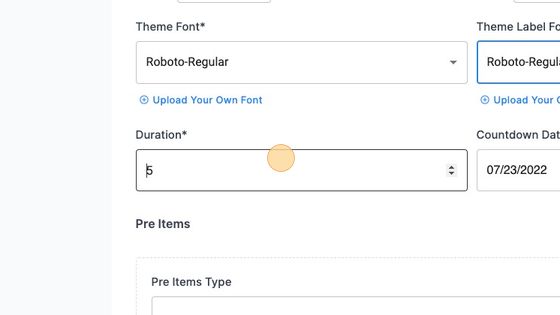
6. If needed, adjust the Duration field. This indicates how fast (in seconds) the Marquee will change to the next item if you have opted to include more than one type of Marquee for each phase (i.e. you have both a Countdown and text marquee setup for pre-event).
7. Set the date and time you would like your countdown to end.
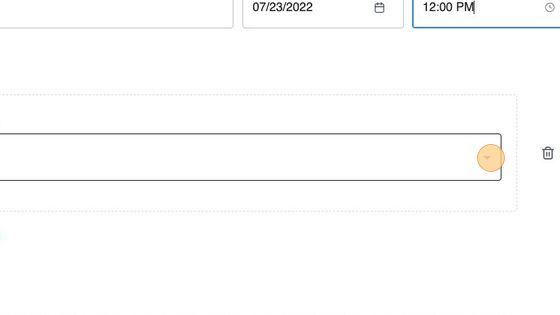
8. Select the dropdown for Pre Items Type. Your options are Countdown or Text. Select the option you would like. If you would like to include more than one, click +Add Pre Item below the dropdown and repeat your steps in this section.
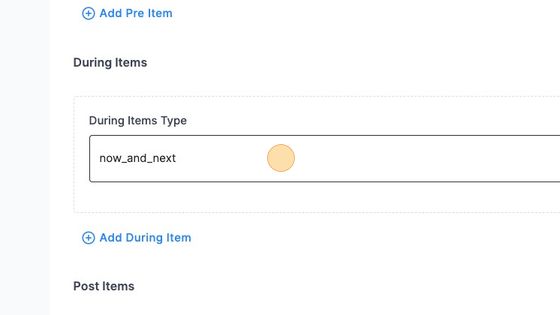
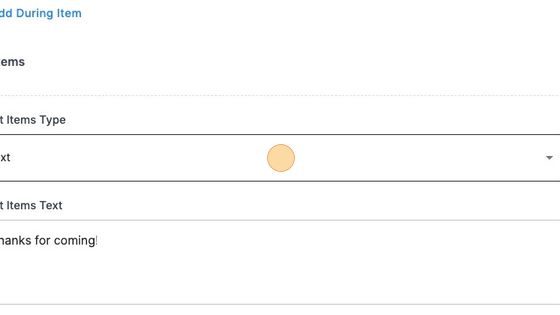
9. Select the dropdown for During Items Type. Your options are now_and_next or Text. Select the option you would like. If you would like to include more than one, click +Add During Item below the dropdown and repeat your steps in this section.
- When using "now_and_next", select the event categories that should display in the rotation using the category drop down.

11. Select the dropdown for Post Items Type. Your option is Text. Select the option you would like. If you would like to include more than one, click +Add Post Item below the dropdown and repeat your steps in this section.
Tip: the After setting appears after the end of the final schedule day that is set within the CMS. Be sure you communicated the correct end date of your event to Client Support during the app setup process!
12. If you would like the text item to link to a URL, you can either select an existing Deep Link from the drop-down or select Create a New Deep Link to set up a new URL for this purpose.
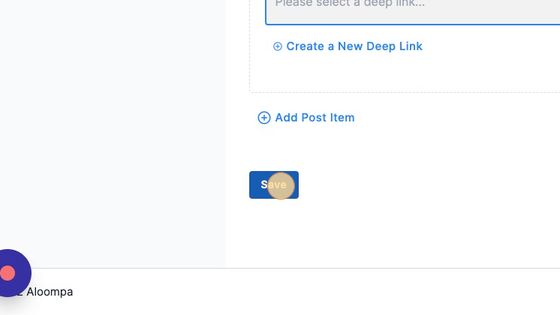
13. Click "Save"
14. Click "Publish"
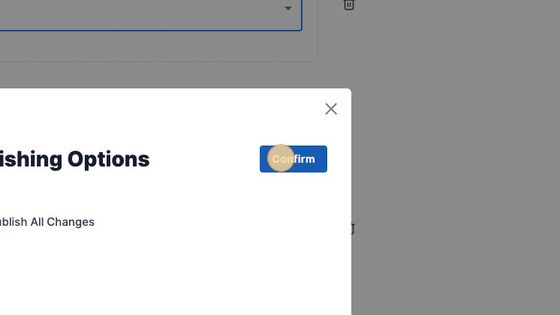
15. Select to Publish All Changes.
16. Click "Confirm"
