How to Create a Form
Forms
1. Navigate to https://cms.aloompa.com
2. Click "Forms"

3. Click "+ New Form" or select an existing Form to modify.

4. Enter the form name in Form Name. As you see in the simulator on your screen, this appears at the very top of the form.
5. Set the appropriate Form Settings for your specific form.
- "Would you like this form to appear in the app's onboarding flow" should be checked if you want app users to be taken to this form as soon as they open their app. When this is selected, they are allowed to skip the form by default as required by the app stores.
- "User can submit form more than once" should be used if you want a user to be able to make multiple submissions.
- This form is a sweepstakes, giveaway, or competition" should be used if you are giving something away. This disclaimer is required for app store approval.
- "Form is used to register wristbands" should not be used.
6. Optionally, add a Header Background and Header Background Color. The Header Background will appear below the Form Name and above the Header Title. The Header Background Color will add color behind the Header Title and Header Text.
7. Add the Header Title and Header Text, which will appear below the Form Name.

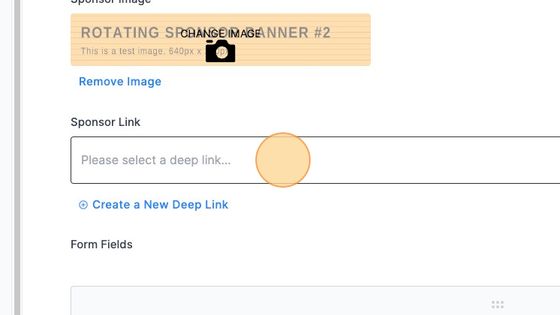
8. Click the "Include Sponsor Image" field if you would like to include a sponsor image. This image should be a png file and 640w x 140h pixels.

9. If you would like the sponsor image to link out to a sponsor website, select to Create a New Deep Link here or select the deep link from the drop down if it already exists in the CMS.
10. +Add a New Field to add to the form. Use the Edit icons on each field to modify them.
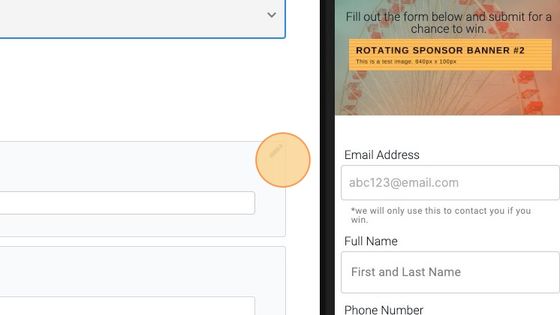
11. Use the field label, hint, description, etc. as you see fit. You will see how the form will appear in the simulator as you add text and can adjust as you work your way through the form.
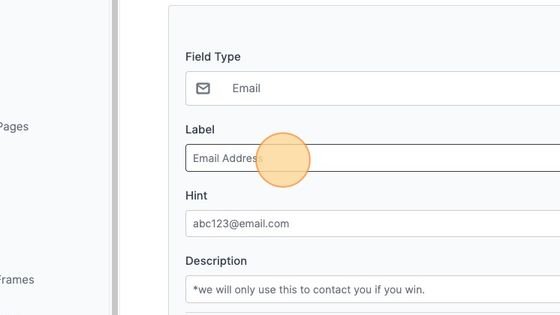
12. Click "Advanced Settings" to add a Description to a field or to make the field 1/2 width.

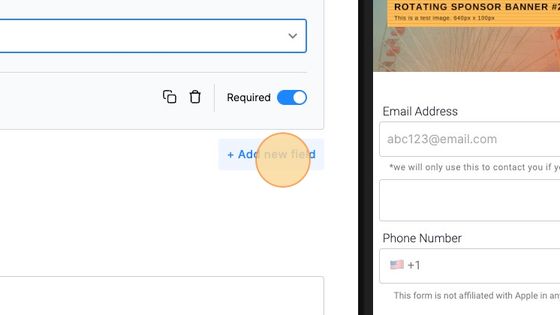
13. Make a field required by toggling the Required field on.

14. Use this icon to drag and reorder the form items as needed.

15. Click "+ Add new field" and continue to add to your form until it is complete.
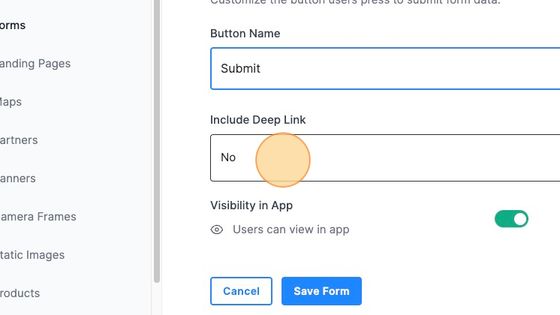
16. Modify the Submit Button name, if needed. This button will appear at the bottom of the screen and users must click this to submit their form.

17. If you would like the users to be redirected to another location after they click submit, add a deep link here.
Learn more about the different deep link types in our All About Deep Links Guide
18. Modify the Form Submission Message, if necessary. This message will appear after a user submits their form. You could use it as a place to provide directions on what will happen next / when to expect to hear from you.
19. Click "Save Form" and publish your changes if you're ready to see this live in your app.

To review submissions to your Form, navigate in the CMS to Settings --> Export. Look for "Form Responses" and Download.