How to add Branded Camera Frames
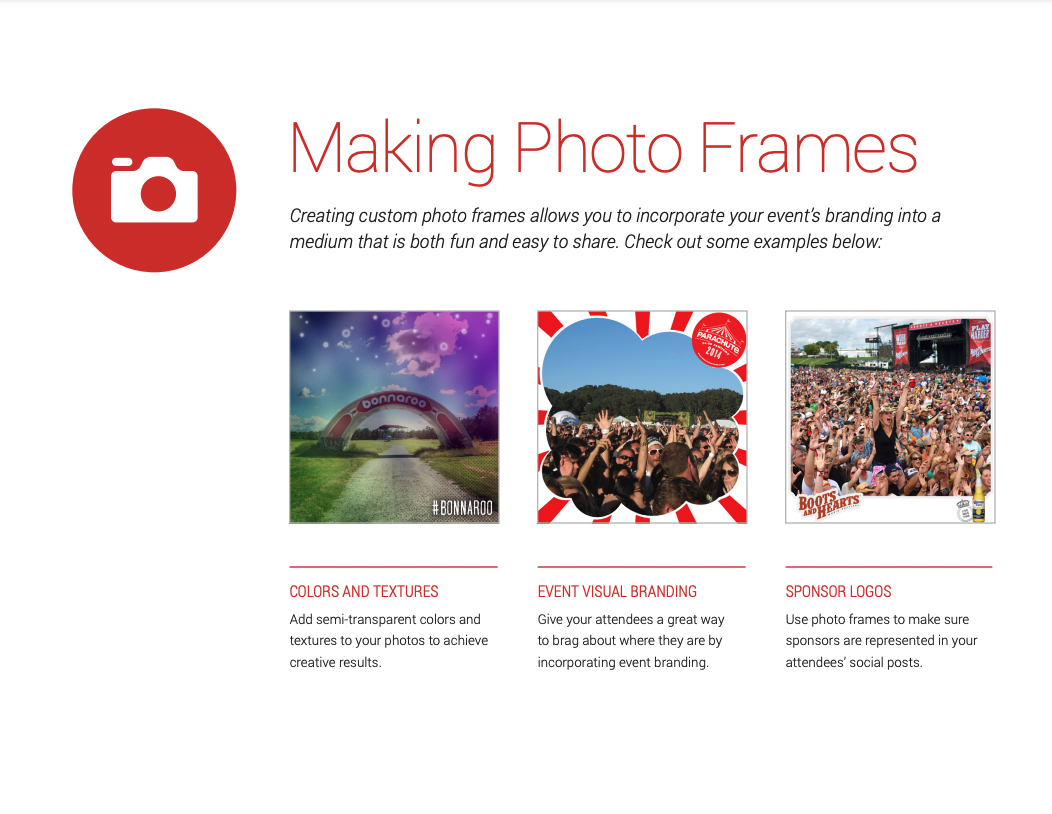
Creating custom photo frames allows you to incorporate your event's branding into a medium that is both fun and easy to share.
Follow this quick guide to learn how to create the photo frames yourself. Here is a link to the PSD template. Once they are designed, upload them into your CMS portal and let Client Support know by clicking on the Support beacon in the bottom right corner of your screen or the Contact link. They will link the photo frames to a menu button in your app.

Notes:
- The artboard size is 1024x1024 px.
- Camera Frames will need its own button on your menu. Please make sure it is included in your menu button name list.
- The final result of your template must have a transparent background. Once you've completed your work in Photoshop, export as a png file to upload into the CMS.
- You will need to include an image as a preview for the app. We've included one below if you need it.

How to add to the CMS:
1. Navigate to https://cms.aloompa.com
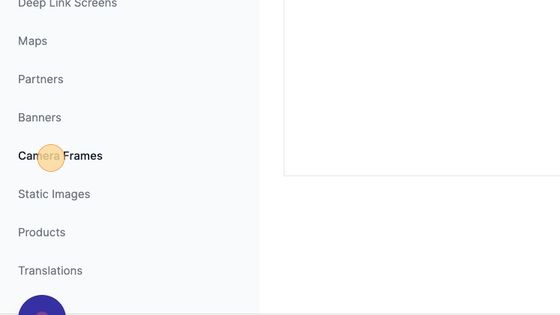
2. Click "Camera Frames"
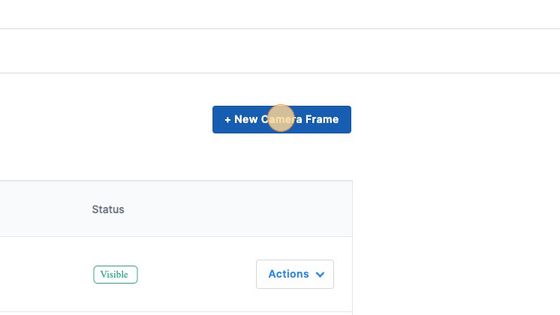
3. Click "+ New Camera Frame"
4. Enter the Camera Frame Name. This name is visible to users in the app.

5. Upload the Sample Image.

The sample image will appear as an example to the app user below their photo, within each photo frame. See the image of the group in frames 2-4 below as an example.

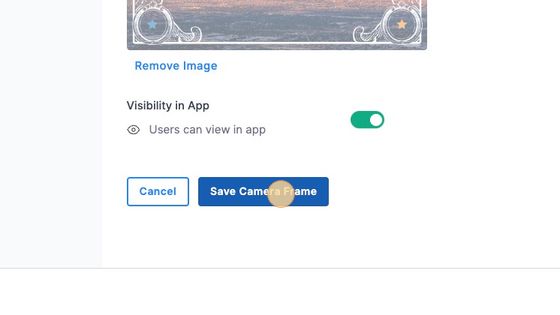
6. Add the Camera Frame you designed.

7. Click "Save Camera Frame"
8. Let Client Support know when your camera frames are ready to go by sending a message via the Support beacon in the lower right corner of your screen. They will link the content you've created to a menu button in your app.