User Groups
Each piece of content in the system (stages, places, performers, events, FAQ, etc.) can have a User Group assigned. When the app user selects their group, they will then only see content assigned to their group.
Step 1: Create the User Groups & Display Names
You will assign User Groups to specific data to filter the data for this group of users. The Display Names provide you with another layer of flexibility that allows you to call the User Group by a different name.
Think of it this way - your User Group might be called Southeast Region while the Display Names are Virginia, Georgia, North Carolina, etc. App users would select their state and see data associated with the Southeast Region User Group.
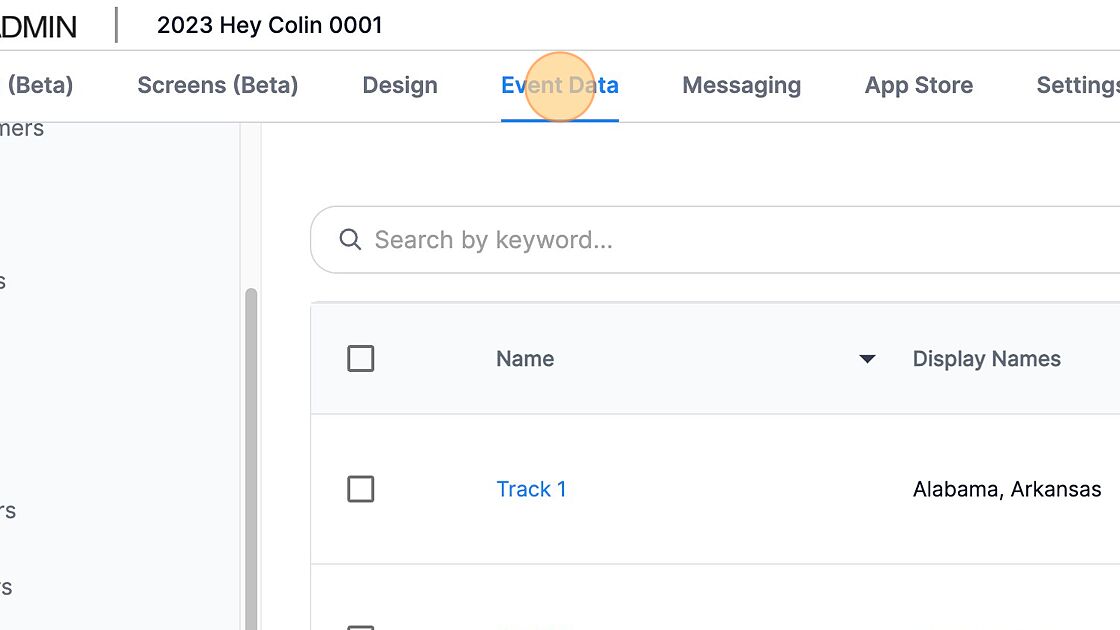
1. Navigate to https://cms.aloompa.com
2. Click "Event Data"
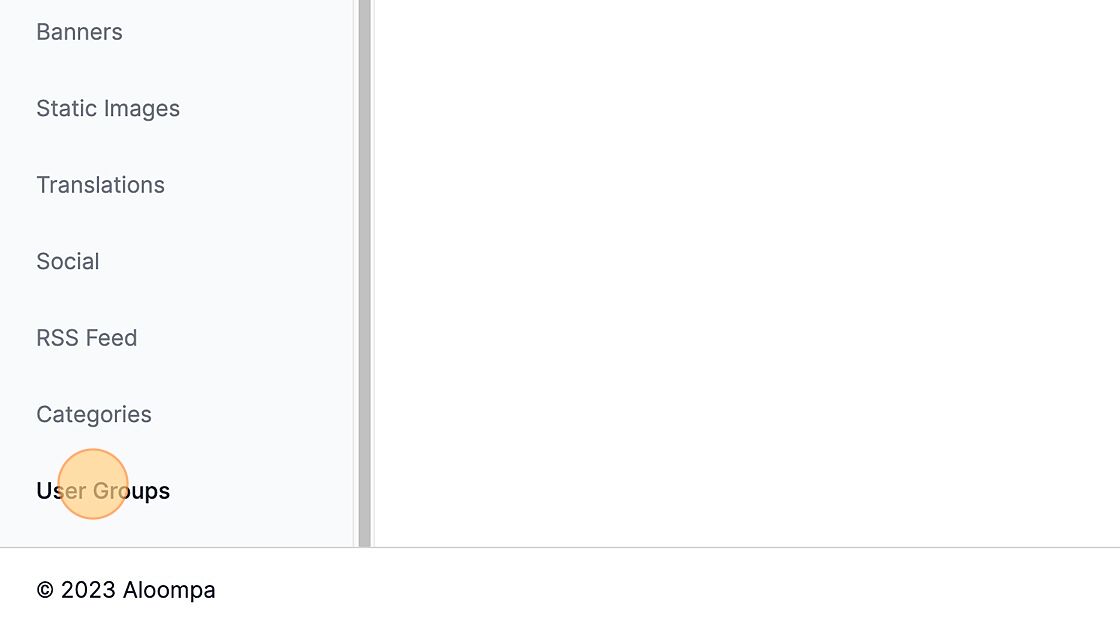
3. Click "User Groups"
4. Click "+ Create User Group"

5. Give your User Group a name. This name is for internal purposes only and will not be visible to app users.

6. Add any Display Names necessary. These are the display names the user will select from when they initially open your app.

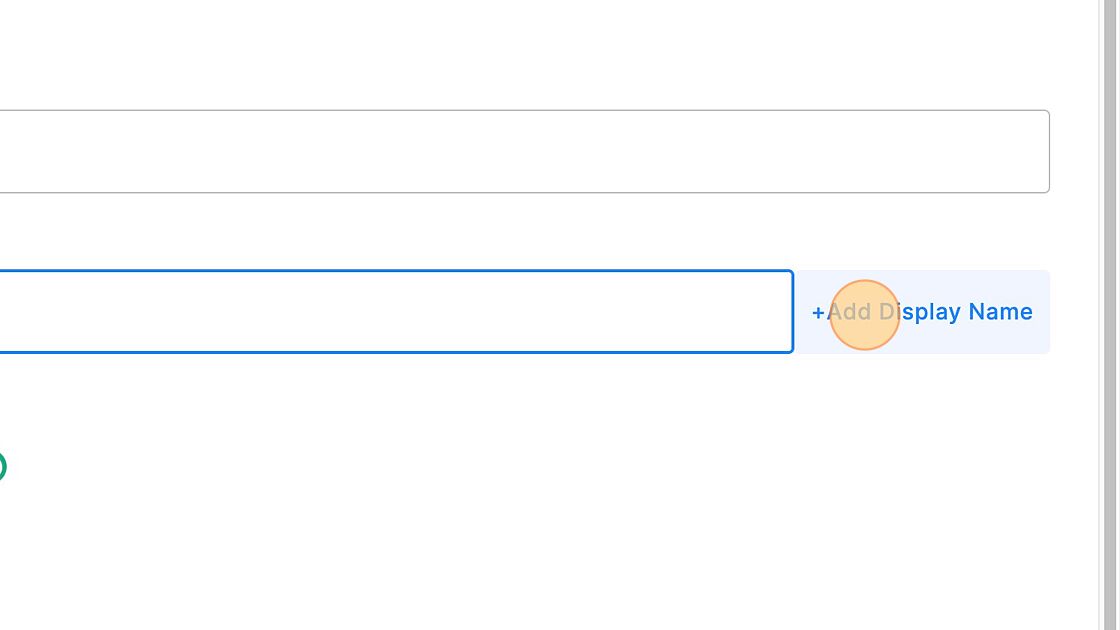
7. Click "+Add Display Name" and add as many as necessary.
8. Click "Save"

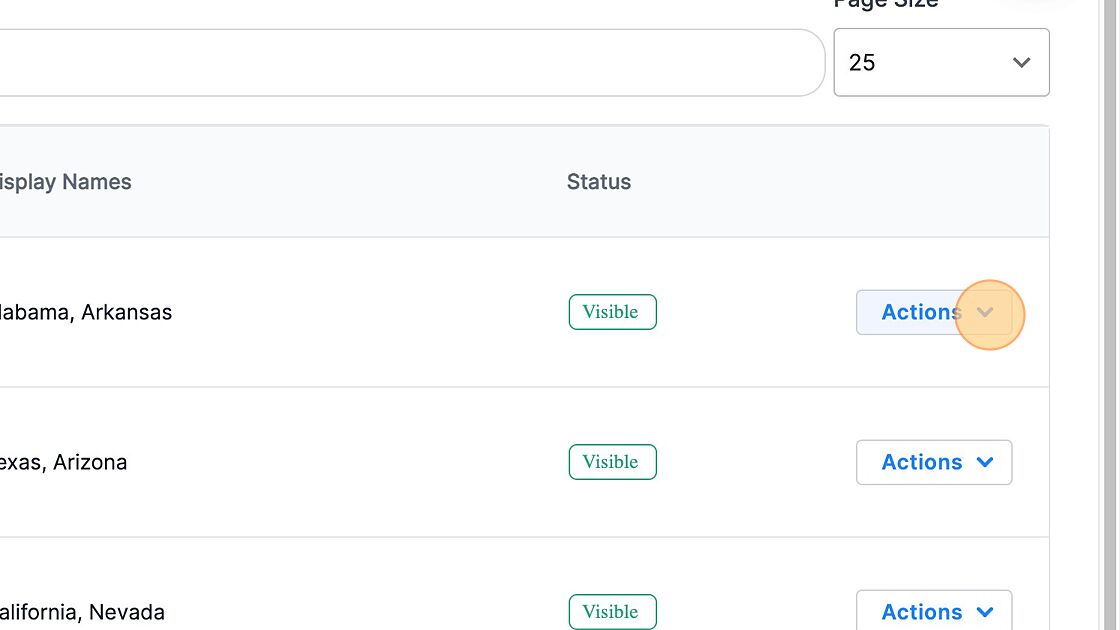
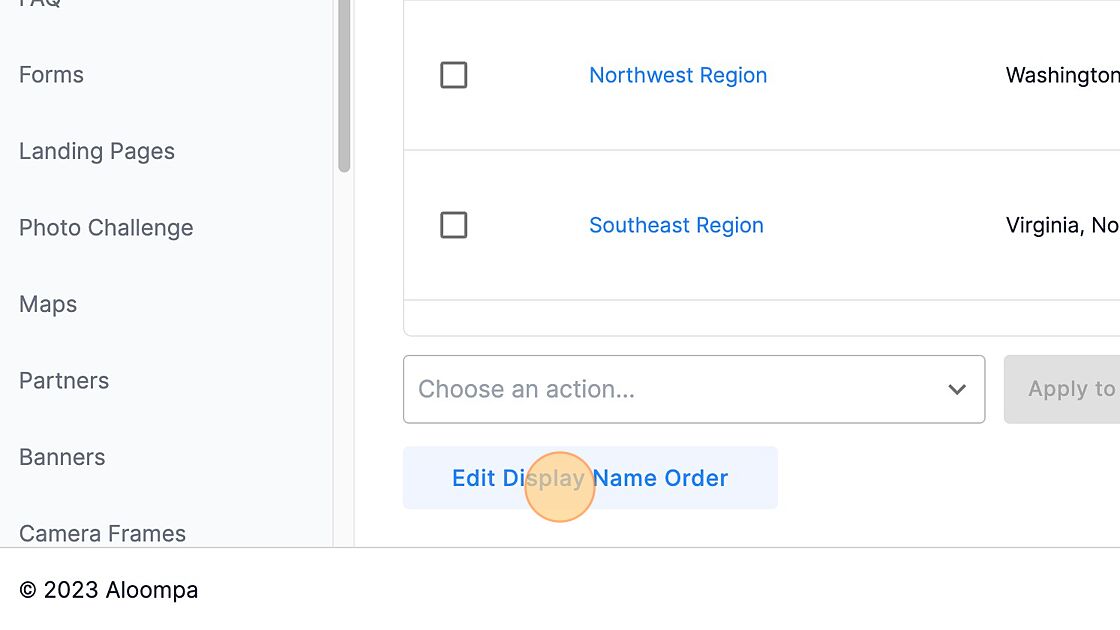
9. If needed, select the Actions dropdown on any User Group to modify. The check-boxes to the left of each User Group also allow you to select multiple and then apply bulk actions using the drop-down below the User Group list.
10. By default, the User Group Display Names will appear to the app user in alphabetical order. If you prefer to set the order differently, click "Edit Display Name Order"
11. Use the icons to the left of the Display Name to drag and drop the names into your preferred order.
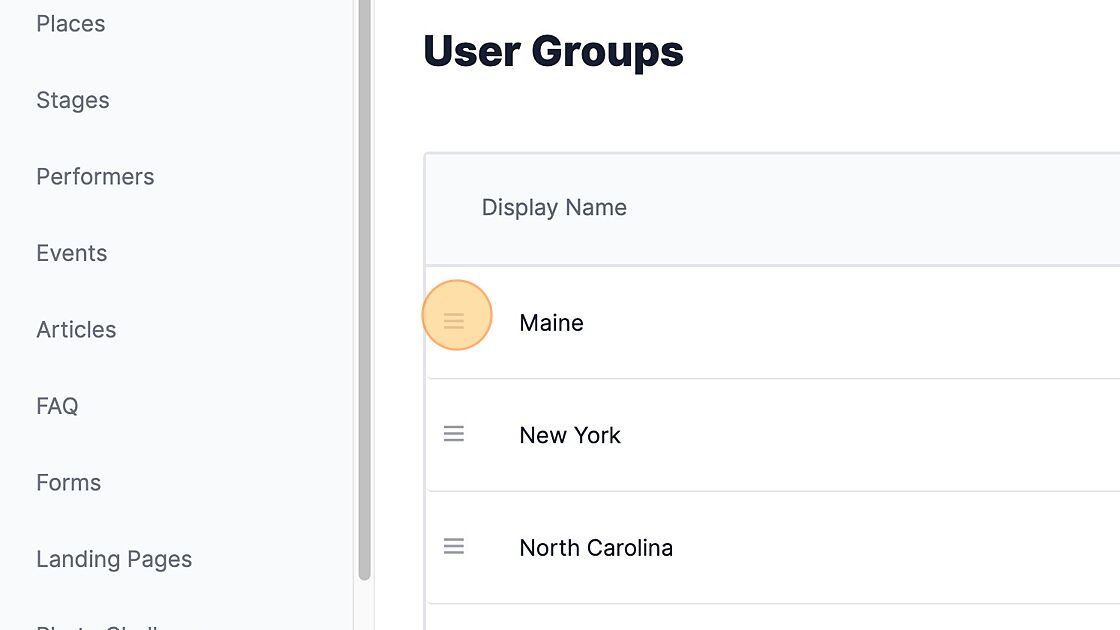
12. Click "Save Display Name Order" or, if you want to discard your changes select "Revert Order to Alphabetical"

Step 2: Add the User Groups to all applicable data points.
1. Click on any screen with data you want to apply your User Groups to. Here, we selected "Places"

2. Click the Place to modify it.

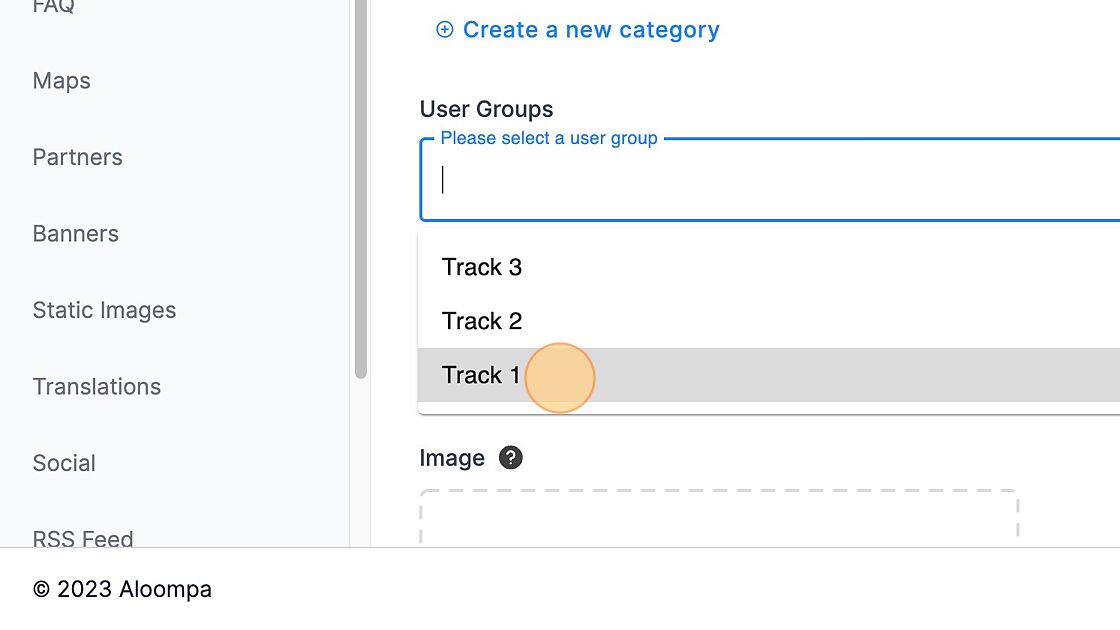
3. Click the "Please select a user group" field.

4. Select the User Group.
Tip: If you do not assign a User Group to a piece of content, it will be available to all groups. Otherwise, the content will be available only to the groups assigned.
5. Add as many User Groups as necessary to the Place.

6. Click "Save Place"

7. When you're ready to see this data in your app, remember to Publish in the top right corner of your screen.
Notes:
- You can add User Groups to your data imports throughout the system. For example, when importing Stages or Events the User Group can be included in that import spreadsheet to save you from applying the groups manually. Please refer to our Importing Your Data guide for more details.
- Verbiage seen throughout the app that references "User Groups" can be changed in the CMS in Event Data --> Translations.
