GPS Maps - How to Add a Place
Our GPS Map functionality allows you to add pins of your Stages and Points of interest to the map to give your users a clear understanding of where things are located. Once you have set up your GPS Map this article will detail how to include a place on your GPS Map.
GPS Map Video Guide
1. Navigate to https://cms.aloompa.com/
2. Click "Event Data"
3. Click "Places" or "Stages" depending on what type of location you are adding.

4. Select the Place you want to add to your GPS Map.
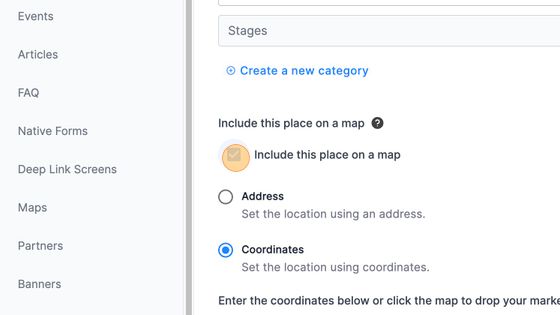
5. Select "Include this place on a map"
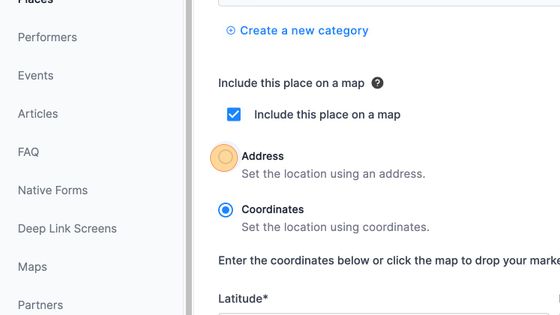
6. You have the option of adding the location based on an address or coordinates. Here, we've selected the address option. If you prefer to add using Coordinates, select that and paste in the Latitude / Longitude.
Tip: You can also modify or add the location of a Place or Stage within the CMS - Maps screen! Navigate there, select your map and under Places you'll see all places listed there. Select the check box to include that place on your map, add the latitude/longitude or select to pick the location on the map manually.
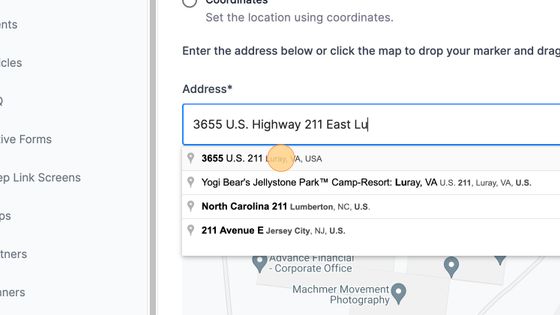
7. Enter the address.
8. Search for the address and select it in the dropdown.
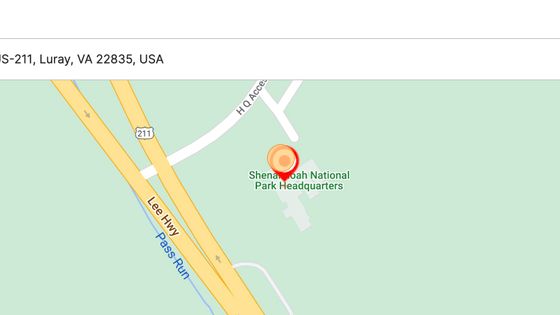
9. Once the map places the point on the entered address, you can click the map point and drag/drop it into a new location if you wish.
10. Select the Primary Map. If you have only one map, it will be selected by default. If you have multiple maps they will appear in a dropdown here.

Tip: Confirm you have your Category set correctly on the place. The GPS Map displays different colored pins based on the Category assigned to help users group together like items. The color and icon for these pins can be modified within the Maps tab in your CMS under "Category Settings"
11. Click "Save Place"
12. Click "Publish"
13. Select to Publish All Changes.
14. Click "Confirm"
15. Click this button.


