Setting Up Your GPS Map
If you are using our GPS Map functionality, this will walk you through step-by-step how to set up or modify a GPS map for your event.
GPS Map Video Guide
1. Navigate to https://cms.aloompa.com
2. Click "Event Data"

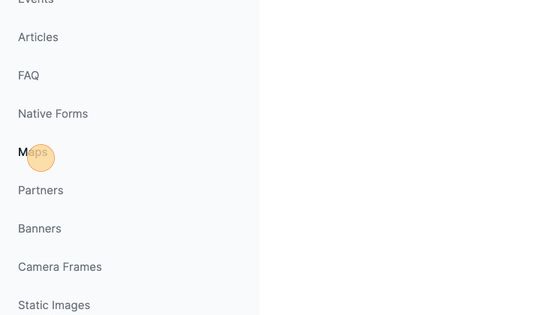
3. Click "Maps"
4. Click on the Name of your Map to access the details.

5. Edit the Map Name if needed. This name is for internal purposes only and does not display to app users.

6. Add the Latitude and Longitude you would like to be at the center of your map. To find these coordinates, go to Google Maps and search for your location. Right-click on the location to view the coordinates then add those into the Center Lat / Long fields.

Tip: Aloompa will add the coordinates of your event to your initial GPS Map when we create your CMS. You can modify the location we set if needed.
Tip: The Default Zoom will be set to 14 by default. However, if you want to make adjustments click the ? Tool Tips above the fields in this screen for more in-depth knowledge about each field.
7. Select the Map Options you would like enabled for your map. By default, all of these options will be set to on. Read below for an explanation of each and modify the selections as needed.

Enable Search - This allows your users to search for specific places on the map. The search results are grouped by category.
Enable Directions - This allows your users to select a location on the map and get directions to it using the map application on their device.
8. Select the Map Category you want to work with from the dropdown to filter the list of places/stages you're working with.
Use the Search bar or scroll (ensuring your Page Size is set appropriately to be able to view all of your places).
Use the checkboxes to add places/stages to this map (also can be accomplished within the place/stage).
Use Add/Edit to add the latitude/longitude to a place or select the location on the map manually (also accomplished within the places/stages screens)

Tip: If your event has multiple maps (for example, a camping map vs. an event map) you can select to only display places or categories set as camping on the camping map.
9. Use Category Settings to modify the pin icon and color for each Category. Make parking locations a car, first aid an ambulance, etc.

10. At the bottom of your screen, you will see the option to Show Advanced Settings.
As needed, expand this option and explore the settings using the ? tooltips on each field. Many of these settings you will not need to modify but they are available if needed. These include:
Min Zoom / Max Zoom
Minimum Pin Group Size
Restrict Movement
Polylines
Custom Map Style
Tiles URL
Map Pin Size
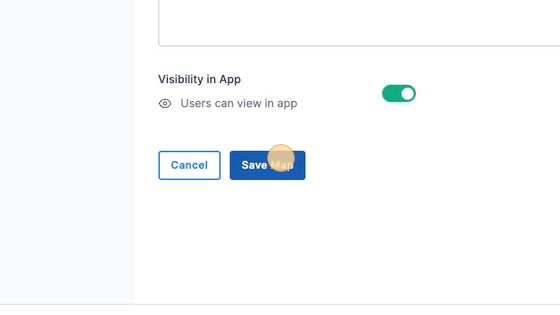
11. Click "Save Map"
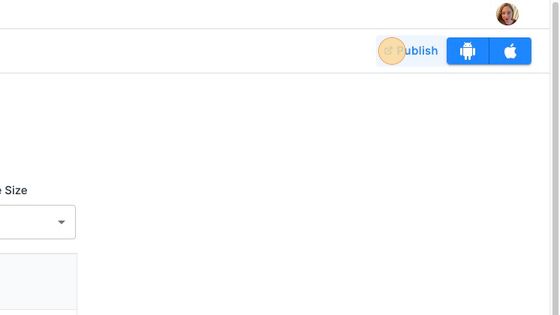
12. Click "Publish"
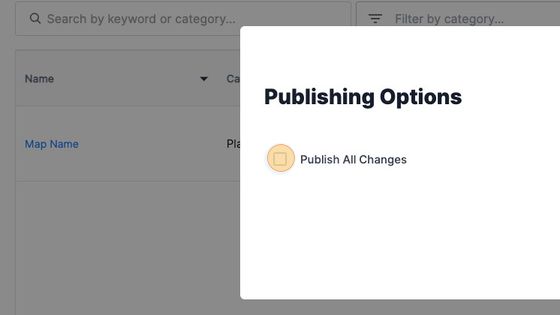
13. Select "Publish All Changes"
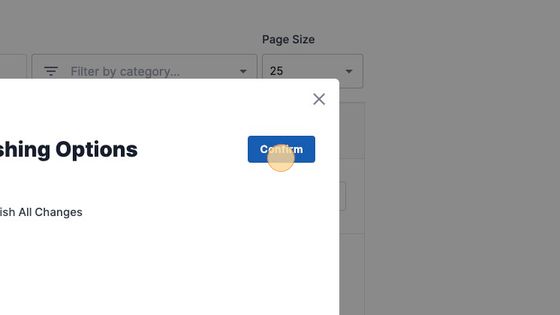
14. Click "Confirm"
Be sure to check out our guide on Map Overlays once your GPS Map is setup.