CMS Onboarding
Once you officially sign up with us, you will receive an automated email. It is important that you review this and get started to ensure you're able to meet your timeline goals. This email will welcome you (or welcome you back!) to Aloompa and review the major steps to begin the process. It will also include a login (or reminder that you already have a login) to our CMS (Content Management System). Please visit the CMS as soon as you can, as we've added a new onboarding process that gathers basic details about your event to kick off your app development with us. For more details on getting started with us, read our What to Expect Guide.
Watch this Onboarding Overview for a walk-through of the onboarding process, or follow the written guide below.
1. Navigate to https://cms.aloompa.com
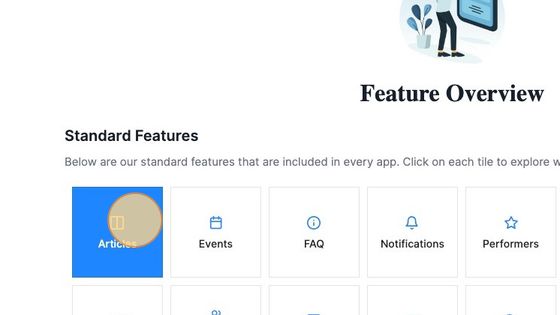
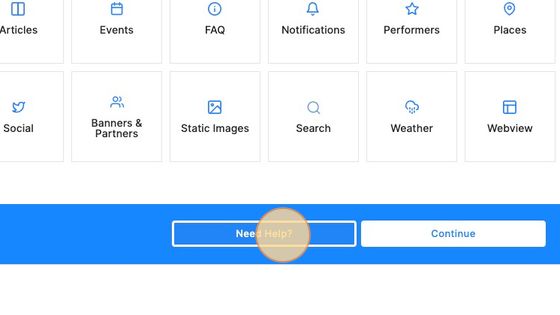
2. The Feature Overview screen displays all functionality included in your personal app. You can click on each of the icons to read more about that functionality and see screenshot examples.
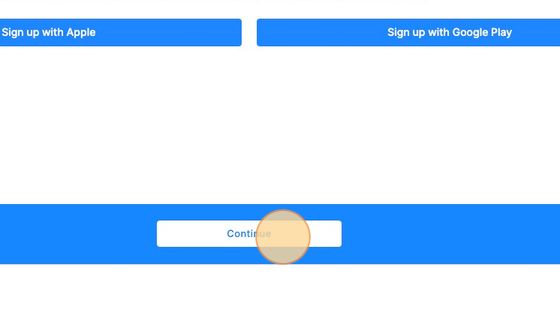
3. Click "Need Help?" to chat or email our Client Support team or Continue to move to the next step of the process.
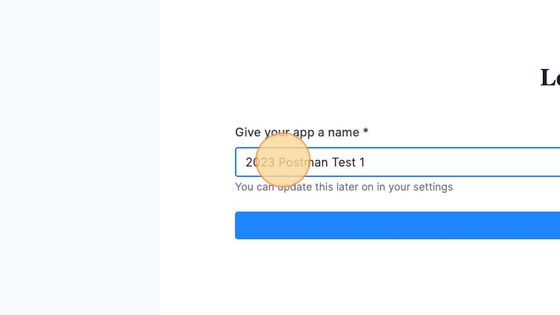
4. Give your app a name, starting with the year. This is an internal name for your CMS, not the name visible in the app stores. There will be text here automatically, but you’re welcome to change that now or later in the settings screen. You must start the name with a year, as this is what we use to differentiate returning apps year over year.
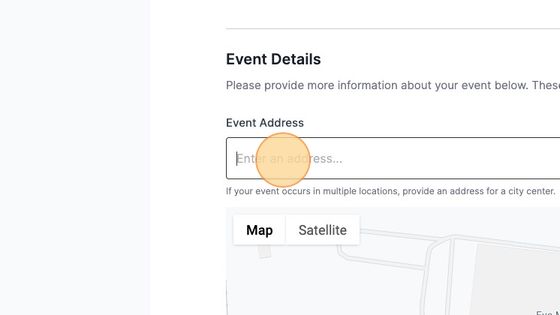
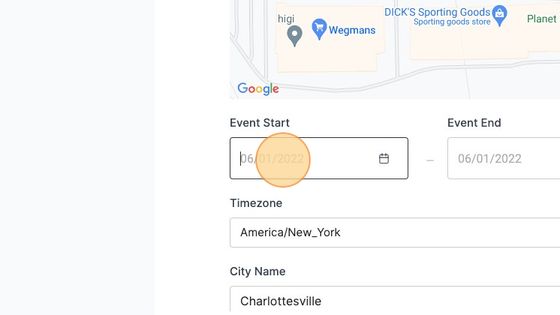
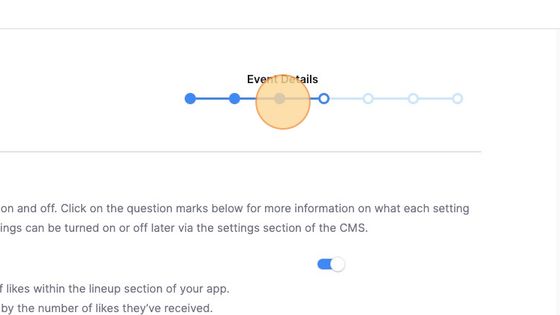
5. The Event Details screen collects basic information about your event including the address, event start & end dates, timezone, etc. If you’re working with a location that does not have an exact address, you can find the nearby latitude and longitude in Google Maps by right-clicking on the location and copying the coordinates to add into our CMS.
6. Add the start and end dates for your event. These dates must fall within your contract term with Aloompa, and should represent the first and last dates you need to add events to your app. i.e. if your main event is 4/9-4/11 but you have an event that happens on 4/8 or 4/12 you should enter 4/8-4/12 here.
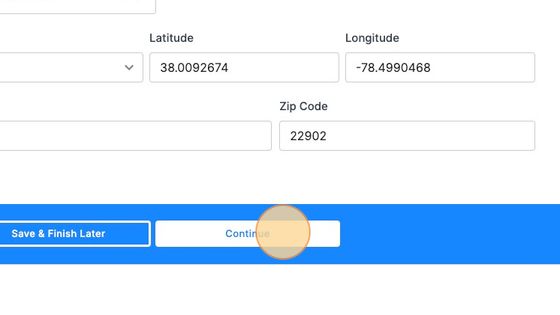
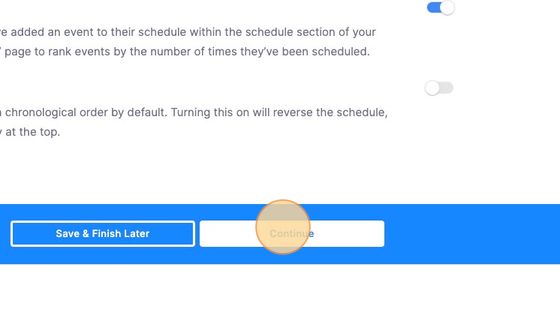
7. Click "Continue"
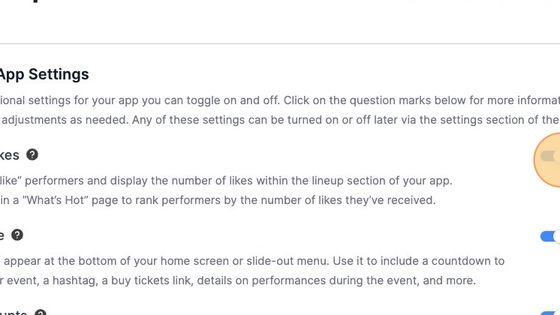
8. The additional settings screen allows you to make some initial decisions about your app. Use the ? tool tips on each field for examples of what these features are and toggle them on and off as you see fit for your app.
9. Click "Continue"
10. As you continue through the process, you can navigate back and forth between screens by clicking on the status icons at the top of your screen.
11. In the Developer Information section the first question is if you currently have Apple AppStore Connect and Google Play developer accounts - if this is your first-ever app, the answer is likely no. If this is a repeat app, or if you’ve previously developed apps for other events and want to use your existing accounts, your answer is likely yes.
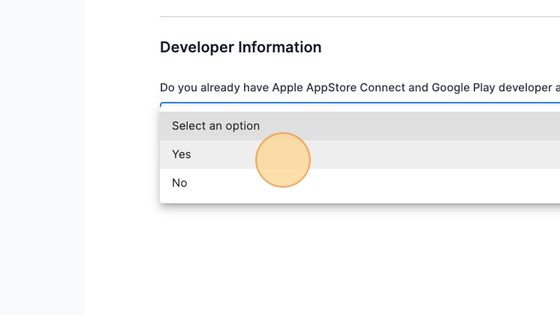
12. When you select Yes, the screen asks that you log in to each of your existing accounts and ensure your accounts do not have any outstanding notices. Often, the platforms introduce changes year over year that require you to sign a new agreement. We need all of those cleared up to eventually ship your app to the stores.

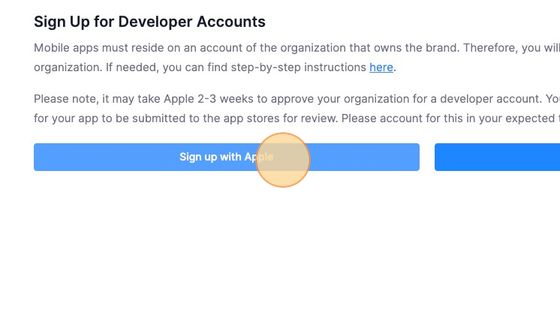
13. When you select No the screen then prompts you to sign up for developer accounts for both systems. We include step-by-step instructions as well as links directly to the sign-up pages. Please ensure you follow through on setting up your accounts - the development of your app will be stalled without them.
14. Click "Continue"
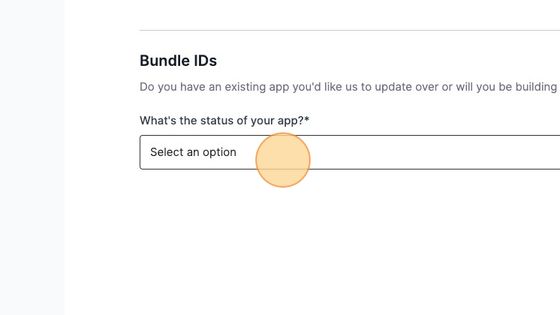
15. Regardless of if you selected yes or no, if you're a new client the next step is Bundle IDs. If you're a returning client, these screens won't appear for you.
The Bundle IDs screen asks if you have an existing app that you want to update over. For example, 2022 Aloompa Awesome Event updates to 2023 Aloompa Awesome Event and existing app users don’t need to download a new app. If this is the case, then you’ll need to provide additional information to us. I’ll click through both options and explain.
16. If you select Building a Brand New App we will create a Bundle ID from scratch for you using our default naming standards. These IDs can be changed until your app is uploaded to stores, so if you need something specific set go ahead and complete the onboarding process and let us know via the Support beacon in the lower right corner of your screen.

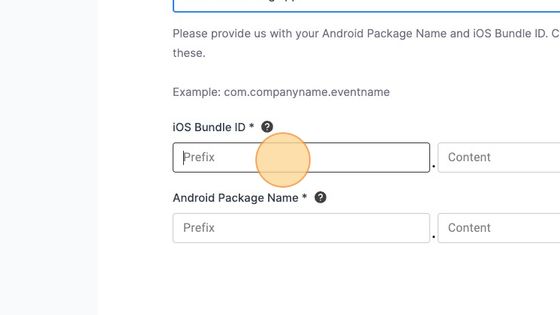
17. If you select I have an existing app from a previous developer, we then need to know the actual bundle IDs from your existing accounts.
Use the ? tool tips which will walk you through how to find this information in each system. If you’re stuck, leave the default values in the fields as we've entered them, complete onboarding, and use the Support beacon to contact us. We’ll need to know the history of your previous app - if a previous developer created it for you and you’re unsure of the login, you’ll need to contact them for those details. Otherwise, we can create a brand new app vs. updating over your previous app.
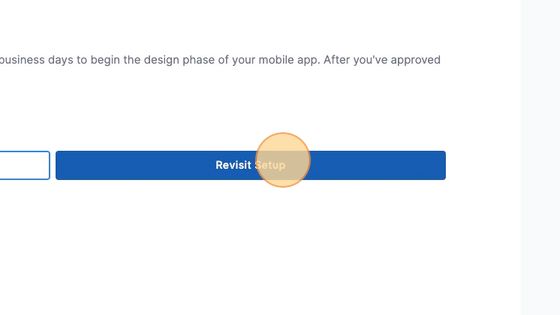
18. Finally, click Continue to complete the process. If needed, click Revisit Setup to start this process over and modify your entries. At this point, the Client Support team will be notified that you’ve completed the onboarding process. They will review your details and open up the CMS for you to access it. Once the CMS is open and your test build is ready, you can download the test build and start entering content.