Adding Events
Scroll down to read a step-by-step guide on how to add events, or watch this video.
To create an event:
1. Navigate to https://cms.aloompa.com/
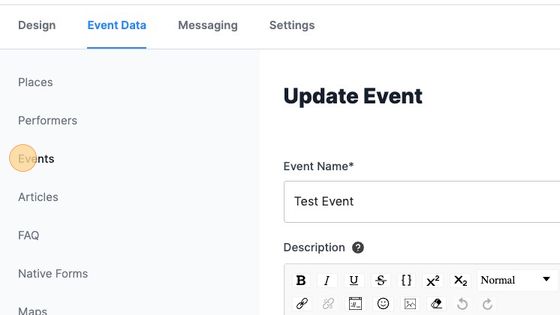
2. Click "Events"
3. Click "+ New Event"

4. Enter the name of your event.

5. Enter a description of your event (location, details, etc). Note that you have the option to change the font - fonts available in this dropdown are those within the theme font of your app. If you would like to use a custom font, select "Upload Your Own Font" below the description box.
You are able to edit the formatting of your text in this field, and add images or hyperlinks. Links will open within the app as a Native Webview.
Note: when adding an image into the description, ensure the link begins with https:// our apps do not support linking to images from http, only https. Alternatively, use the image icon to upload an image from your local machine.

6. The Preview text will be automatically generated from the Description field. If you would like to set a Custom Preview Text instead, select "Custom Preview Text."

7. Add an event image. If you do not include an image and have a single performer assigned to this event, the performer image will display. If there is no artist image or if you have multiple artists, a default app image will appear.

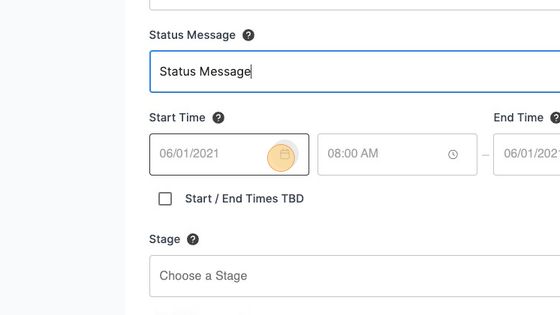
8. Optionally, add an Image Copyright Text and Status Message. Click the ? tool tips for more details on where these each appear within your app.

9. Add the Start and End dates & times for your event. If there are yet to be determined or announced, select "Start / End Times TBD."
10. Click the "Choose a Stage" field and select the appropriate Stage/location for this event.
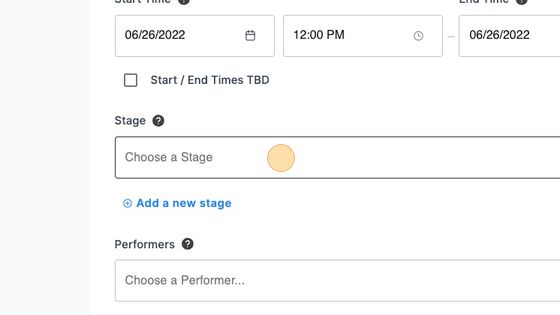
11. Click the "Choose a Performer..." field and select the appropriate performer(s).

12. Click the "Choose a Category" field. The All Events Category will allow this event to display within the Schedule section of your app. If you are using a Discover Screen, the Featured Events category will allow this event to display with Featured Events on the Discover screen.
To add a new Category, select "Create a new category" and then enter the Category name and select if this category should be featured (Discover Screen only).

13. Click the "Common Button" if you would like to use this feature. The Common Button can be used to link to ticketing or reservation sites and will open as Native Webviews within your app. Select the ? tool tip for more information on how this displays within your app.

14. If you would like users to be able to view this event in the app, leave the Visibility in App toggled on to green. If you would like this event to not be visible, toggle this to red.
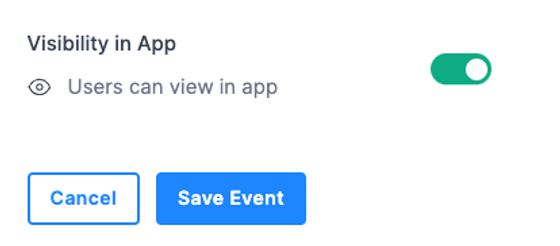
15. Click "Save Event"
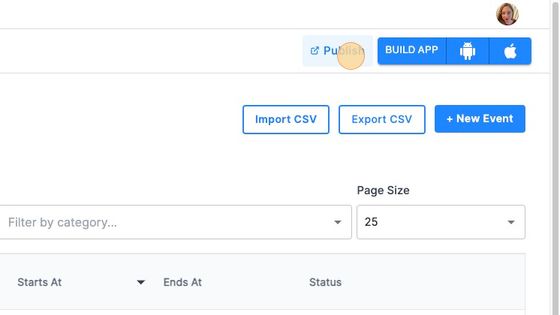
16. Click "Publish"
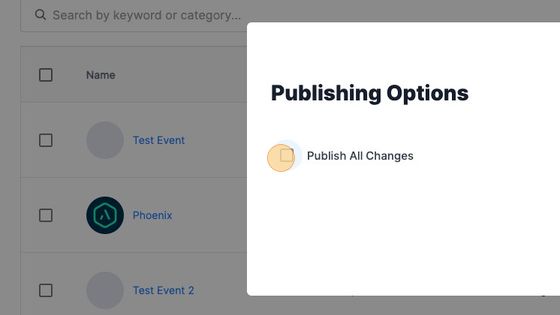
17. Select "Publish All Changes"
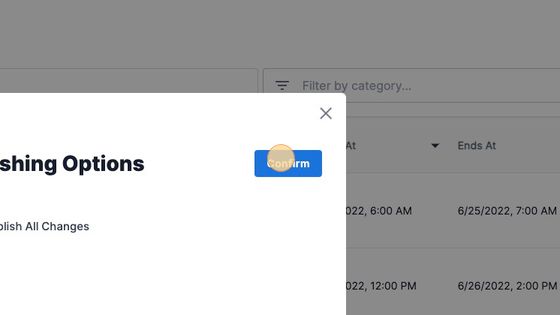
18. Click "Confirm"
Tips on creating events:
- To create an event, a performer, stage, and event type must be assigned.
- Start Date / End Date: These dates must fall within the overall dates set for your app. If you find you are unable to set the dates, please contact Client Support using the Support beacon or Contact link to update your app event dates.
- If you do not add an event image the app will display the performer image. If the performer does not have an image, a default app image will be displayed.
- Multi-Performer Event: You can add multiple performers to a single event by using the Performers dropdown to add as many performers as necessary.
- Performers will appear within the event in alphabetical order.
- If you do not add an event image the system will display a default app image. With multi-performer events, the app will not display a performer image.

Featured Events
- If you are a FestApp Pro client and are using the Discover screen layout, apply the category of "Featured Events" to display this event in the Featured Events category on your Discover screen.
NOTE: If using a feed to populate your event data, please make any desired changes within the feed. Manual submissions and feeds cannot be used together.