Adding Places / Stages
Places are comprised of POI (Places of Interest) and Stages - these are located on two different screens in the CMS. Think of these in more generic terms as places you want to go to at your event.
A vendor or exhibitor is a place you want to go to at your event and is therefore included as a Place (a POI).
If you're hosting an event with actual stages, those are also places you want to go to at your event so are included as a Stage.
Scroll down to read a step-by-step guide, or check out this video.
1. Navigate to https://cms.aloompa.com.
2. Click "Event Data"
3. Click "Places" or "Stages" depending on what you are entering.

4. Click "+ New Place" or "+ New Stage"

5. Click Place Name and enter the name of your place or stage.
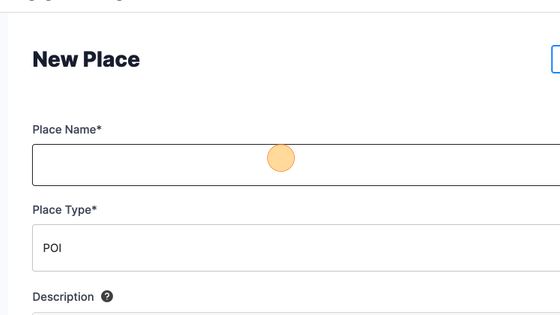
6. Enter a description of your place (location, details, etc). Note that you have the option to change the font - fonts available in this dropdown are those within the theme font of your app. If you would like to use a custom font, select "Upload Your Own Font" below the description box.
The Preview Text will auto-populate based on your Description entry. If you prefer to set a custom preview, select "Custom Preview Text" and enter the preview text after entering the description.
Note: when adding an image into the description, ensure the link begins with https:// our apps do not support linking to images from http, only https. Alternatively, use the image icon to upload an image from your local machine.

7. Select "Stages" under the category tab if this place is a stage and "Places of Interest" if this is a Place. Otherwise, assign the appropriate Category remembering that Categories drive the display within your app. If you have a Category called Parking and want this Place to show in the list of Parking locations, you would assign it the Category of Parking.

8. If you purchased a GPS map upgrade then you are able to add places as a pin to your map. Select "Include this place on map" and set the location using either an address or coordinates.

Tip: You can drag the location icon on the map and place it wherever you see fit. If you toggle to the Coordinates you will see that as you place the map pin, the coordinates are updated. This allows you to place map pins in locations without a specific address.
Tip: If you do not currently have the GPS map upgrade (FestApp Premium only), contact Client Support using the Support beacon or Contact icon for more details on this feature!
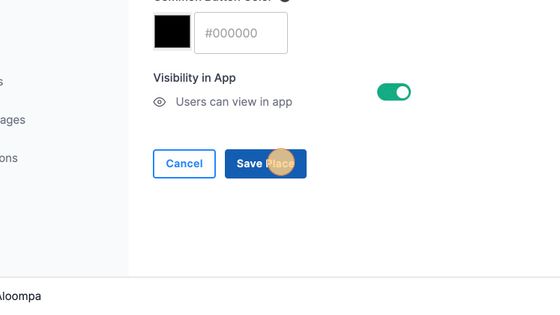
9. Add the remaining optional fields including an Image and Image Copyright Text, Website URL, social media details and button design
Tip: Use the ? by each of these fields to learn more about how each field appears in your app.
10. Click "Save Place"
11. Click "Publish"

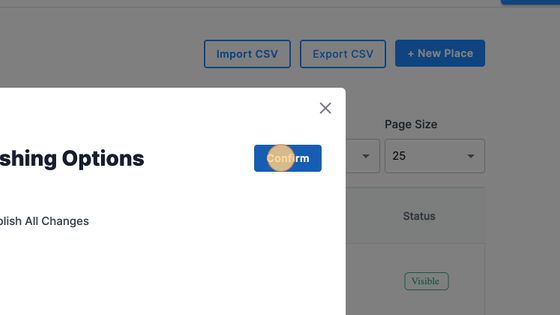
12. Select to Publish All Changes

Tip: The place must be published in order for any associated events to appear in the app.
13. Click "Confirm"
Tip: If using a feed for this section, please make any desired changes within the feed, as manual submissions and feeds cannot be used together.