Adding Rotating Sponsor Banners
Partners can reach users through our in-app ad rotating banners. The static images live at the bottom of almost any screen in the app and are a non-intrusive way of advertising to attendees. The images are clickable, allowing you to direct customers directly to the sponsor URL.

Pictured: Sponsor Banner on the Schedule screen

Pictured: Sponsor Banner on the FAQ screen
Sponsor Banners can be added to many screens in your app, including:
- Schedule
- Places / Stages
- Map
- News & Social
- FAQ
- Partners
- Webviews
- Home Screen (a banner placed on the home screen will not rotate)
FAQ
- The optimal banner image size is 640 x 100 pixels.
- A URL (deeplink) is not required but is recommended.
- There is no limit on the number of sponsor banners you can add.
- Some functionality, such as AXS integration, does not support banners. Check with Client Support using the Support beacon in the lower right corner of your screen or the Contact link if the screen is not listed above to ensure it is supported.
The Process:
- Create the banners. See below for a step-by-step guide as well as video.
- If you are using multiple banners, determine the rotation time you would like. This is how quickly the banners will rotate. The system default is 2 seconds per banner.
- If you would like to modify the default rotation time navigate to the Settings tab --> Select Categories --> Search for the Category assigned to the banners and adjust the Rotation Time.
- If you would like the rotation of banners to be random, navigate to the Settings tab --> Select Categories --> Search for the banners Category and select Randomize Banner Order. When you select this option, the order set in (a) above will not apply. Banners will randomly cycle.
- Contact Client Support and request that they add the banners to the specific app pages you would like.
- Include the name of the banner, the category name(s), and the app page for each
How To Add a Sponsor Banner
1. Navigate to https://cms.aloompa.com/
2. In the Event Data tab, Click "Banners"
3. Click "+ New Banner"
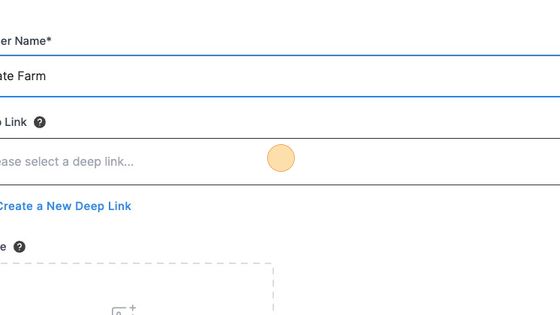
4. Add a Banner Name.

5. Click "Please select a deep link..." to select an existing deep link. Or, select Create a New Deep Link if this is the first time you are adding this sponsors URL to the system.
Note: If you are trying to link a banner to an internal screen in your app, you will need to use the Internal deep link screen type.
6. Click to add the Banner Image. The optional size is 640 x 180 pixels.

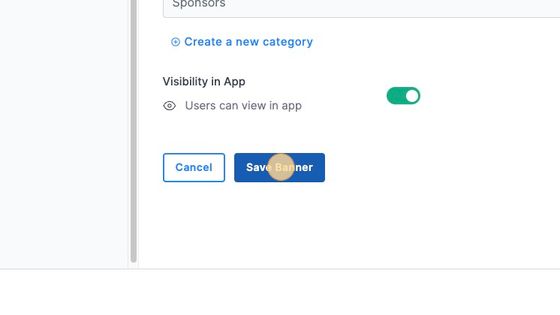
7. Click the "Choose a Category" field. Select "Sponsors"

Tip! The Sponsors category will appear by default. If you prefer to categorize your sponsors differently, select Create a New Category.
8. Click "Save Banner"
9. To assign your banners to screens in the app, please review this guide!
- To reorder your banners, please review this guide!